

A Comprehensive Guide to Cleaning Ceiling Fan Lights for Longevity and Efficiency
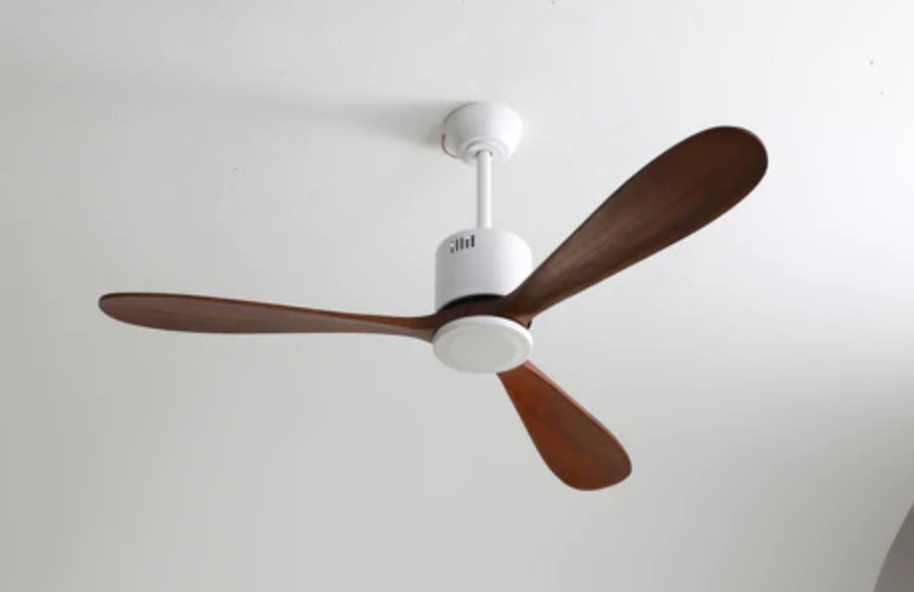
Ceiling fans with built-in lights not only enhance the aesthetics of a room but also provide efficient lighting and air circulation. To ensure their longevity and optimal performance, regular maintenance and cleaning are essential. Over time, dust, dirt, and grime can accumulate on small ceiling fan with light, impacting their brightness and efficiency. In this article, we will provide a detailed step-by-step guide on how to effectively clean modern ceiling fan with light, enabling you to maintain their lifespan and keep your space well-lit and comfortable.
Table of Contents:
*Importance of Cleaning Ceiling Fan Lights
*Safety Precautions
*Gathering the Necessary Cleaning Tools
Step 1: Switch Off Power and Prepare the Workspace
Step 2: Remove Dust and Debris
Step 3: Remove and Clean Light Covers/Globes
Step 4: Clean Light Bulbs
Step 5: Wipe Down Fan Blades and Housing
Step 6: Reassemble and Restore Power
*Additional Tips for Maintaining Ceiling Fan Lights
*Conclusion
Section 1: Importance of Cleaning Ceiling Fan Lights
Discuss why regular cleaning of black ceiling fan with light is crucial. Highlight the impact of dust and dirt on the performance, brightness, and lifespan of the lights. Emphasize the importance of maintaining a clean and well-lit environment.
Section 2: Safety Precautions
Outline safety precautions to be followed before starting the cleaning process. Mention the importance of turning off the power, using a stable ladder, and wearing protective gear such as gloves and goggles.
Section 3: Gathering the Necessary Cleaning Tools
Provide a list of essential cleaning tools, including a ladder, microfiber cloth, vacuum cleaner, mild cleaning solution, water, and a soft-bristle brush. Explain their specific uses and the importance of using non-abrasive materials.
Section 4: Step 1: Switch Off Power and Prepare the Workspace
Guide readers on how to turn off the power supply and create a safe workspace. Include instructions on securing loose items and protecting the floor and furniture from potential dirt or cleaning solutions.
Section 5: Step 2: Remove Dust and Debris
Explain how to remove loose dust and debris from the ceiling fan lights. Discuss the use of a vacuum cleaner or a microfiber cloth to gently clean the surfaces, including the light covers, fan blades, and housing.
Section 6: Step 3: Remove and Clean Light Covers/Globes
Provide detailed instructions on how to safely remove the light covers or globes. Explain the appropriate cleaning methods, such as using a mild cleaning solution and warm water to wash them, rinsing thoroughly, and allowing them to dry completely before reassembling.
Section 7: Step 4: Clean Light Bulbs
Guide readers on how to clean the light bulbs effectively. Explain the importance of using a dry, lint-free cloth to wipe away dust and smudges, and caution against using liquid cleaners or excessive force.
Section 8: Step 5: Wipe Down Fan Blades and Housing
Detail the process of cleaning the fan blades and housing. Explain how to use a damp cloth or a soft-bristle brush with a mild cleaning solution to remove stubborn dirt and grime. Emphasize the need to be gentle to avoid damaging the fan or light
Section 9: Step 6: Reassemble and Restore Power
Light Covers/Globes: Once the light covers or globes are completely dry, carefully reattach them to the ceiling fan. Make sure they are properly aligned and securely fastened. Avoid overtightening, as it may cause damage.
Light Bulbs: Insert the cleaned or new light bulbs into their respective sockets. Ensure they are fully screwed in but not overly tightened. Verify that the wattage and type of bulbs used comply with the manufacturer's recommendations.
Fan Blades and Housing: With the fan blades and housing now clean, wipe them dry with a clean, dry cloth to remove any residual moisture. Pay attention to corners, edges, and crevices. Once dry, ensure the fan blades are properly aligned and firmly attached to the motor housing.
Power Restoration: Before restoring power, double-check that all components are securely in place and free from any loose debris. Now, it's time to switch on the power supply. Use the fan's wall switch or remote control to turn on the fan and lights, verifying that both functions are working correctly.
Section 10: Additional Tips for Maintaining Ceiling Fan Lights
Regular Dusting: Incorporate ceiling fan lights into your regular dusting routine. This helps prevent excessive buildup and prolongs the time between thorough cleanings.
Use a Ceiling Fan Duster: Consider investing in a long-handled ceiling fan duster specifically designed to reach high places easily. These tools facilitate quick and efficient dusting without the need for a ladder.
Avoid Harsh Chemicals: Stick to mild cleaning solutions and avoid harsh chemicals that may damage the fan blades, housing, or light covers. Opt for gentle, non-abrasive cleaners and soft cloths to maintain the integrity of the materials.
Schedule Periodic Cleaning: Depending on usage and environmental factors, schedule regular deep cleanings every few months or as needed. Adjust the frequency accordingly for spaces prone to more dust, such as kitchens or workshops.
Inspect and Replace Bulbs: Regularly inspect light bulbs for signs of damage or discoloration. Replace any bulbs that are flickering, dim, or past their recommended lifespan to ensure optimal lighting performance.
Conclusion
Cleaning ceiling fan lights is an important aspect of their maintenance, ensuring longevity and efficient performance. By following the step-by-step guide provided in this article, you can effectively clean your ceiling fan lights, removing dust, dirt, and grime that can accumulate over time. Regular cleaning, along with proper care and maintenance, will help to maintain the lifespan of your beautiful ceiling fan lights, keeping your space well-lit and comfortable for years to come.