

How to replace a ceiling fan
To replace a ceiling fan, you will need a Phillips screwdriver, needle-nose pliers, wire cutters and electrical tape. Here are the steps:
1. Turn off power to the fan at your circuit breaker or fuse box.
2. Remove the canopy cover from the existing fan by unscrewing it with a Phillips screwdriver.
3. Unscrew the two mounting screws that hold the fan motor in place and remove the fan from the ceiling box.
4. Disconnect any wires attached to the old fan, using needle-nose pliers to loosen them from their terminal screws if necessary.
5. If you’re replacing a fan with a remote, there may be a receiver to remove.
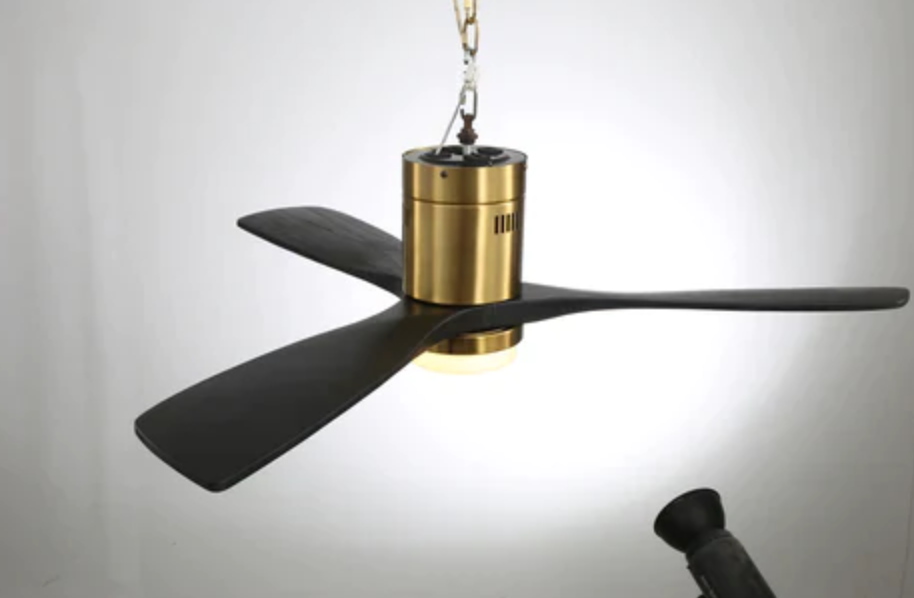
6. Install the new ceiling fan in the same manner as you removed the old one, beginning by attaching it to the ceiling box.
7. Connect all wires according to your fan's wiring instructions and secure them with electrical tape.
8. Replace canopy cover and secure it with the Phillips screwdriver.
9. Turn the power back on at your circuit breaker or fuse box, then test your new unique ceiling fans with lights to make sure it's working properly.
10. Enjoy your newly installed ceiling fan!
How often are ceiling fans washed?
Ceiling fans should be washed at least twice a year, preferably in the spring and fall. Dust buildup on the fan blades is one of the most common causes of poor air circulation, so it's important to keep them clean for optimal performance. Start by wiping down the fan blades with a damp cloth or microfiber cloth. You can also use a vacuum cleaner with the brush attachment to gently remove any additional dust and debris. Then, mix warm water with a non-abrasive cleaning fluid in a bucket and dip a cloth in the mixture. Make sure to wring out the cloth before wiping down all of the fan blades. Finally, rinse off the cleaning solution with a damp cloth, and wipe up any remaining moisture with a dry cloth. This process should be done once every six months to ensure optimal air circulation from your ceiling fan.
It’s also important to make sure that the ceiling fan is turned off and unplugged before cleaning, so as not to risk any electric shock. Additionally, you may want to wear safety glasses when cleaning a fan in case any debris or dust particles get whipped up into the air. Finally, if your fan has a light kit attached to it, make sure to also clean and dust off any light bulbs as needed. These simple steps will help keep your ceiling fan running optimally for years to come.
Make sure to follow all safety precautions when working with electricity. If you're ever uncertain about how to properly replace a ceiling fan, contact a professional electrician for assistance.