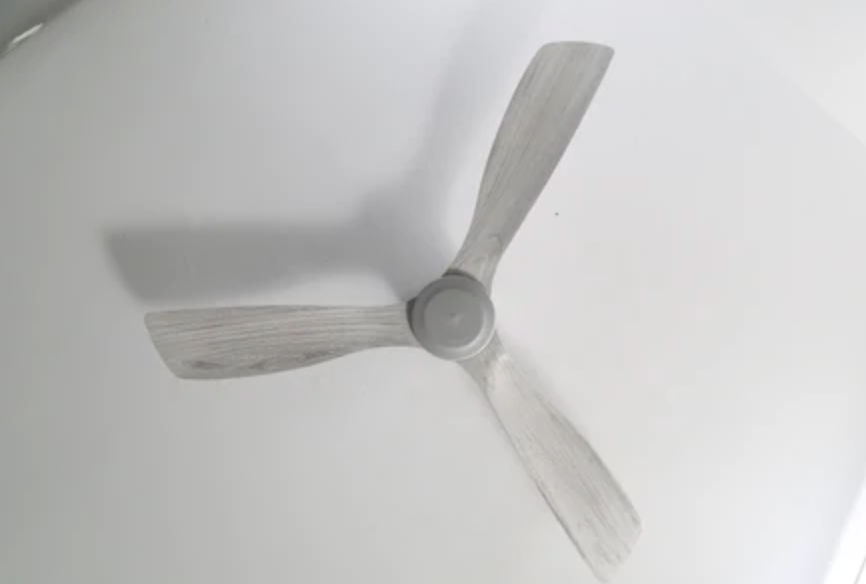
Ceiling fan replacement
When it comes to replacing a ceiling fan, you want to make sure that you are taking the necessary steps to ensure the safety of yourself and your family. Here is what you need to know:
1. Turn off power supply
Before beginning any work, turn off the power supply in order to avoid electric shock or injury. This can be done by unplugging the fan from the wall or turning off the breaker switch at your circuit box.
2. Remove Old Fan
Once the power is off, you will need to remove the old fan and any hardware associated with it. Depending on how it was installed, this could involve unscrewing bolts that hold it in place, or removing the wiring.
3. Check Mounting Method
Examine how your fan was mounted and decide if you’re going to use the same method for your new fan. If so, make note of any necessary mounting hardware that may need replacing, such as screws or anchor bolts.
4. Install New Fan
When you're ready to install the new ceiling fan, make sure that it is securely mounted and has access to power. If necessary, install a bracket or other mounting hardware so that the fan will be firmly in place.
5. Wire New Fan
Once the fan is mounted, you'll need to wire it up according to the manufacturer's instructions. Depending on the type of fan you have, this could involve connecting black and white wires to the fan, or connecting them to a light kit if one is included.
6. Turn On Power Supply & Test
Once everything is wired up properly, turn on the power supply and test your fan to make sure it is working correctly. If the fan does not turn on, double-check all of your connections and wiring to make sure that everything is secure.
Finally, once your new ceiling fan is installed, you can sit back and enjoy the breeze it creates in your home! By following these steps, you'll be able to safely install a new ceiling fan is an important step that will help ensure the safety of your family. If you feel unsure or uncomfortable with any part of the process, it's best to have a professional take care of it.

