Ceiling fan direction for summer
When the summer months start to heat up, it is important to make sure that you are getting the most out of your ceiling fan. To do so, you should switch your fan to spin in a counter-clockwise direction. This will create an updraft which forces cool air down into the room, creating a refreshing breeze throughout. To do this, make sure that the fan is rotating in a counterclockwise direction. This will ensure that air is being pushed downwards and creating the updraft needed to cool down the room.
During the winter months, you should switch your ceiling fan direction to clockwise. This helps to pull cold air up towards the ceiling, This creates an updraft which will force warm air from the ceiling down towards the floor. By doing this, it helps to keep your room at a comfortable temperature without having to turn up the thermostat.
By adjusting the direction of your 48 inch ceiling fan, you can help make sure that your home stays cool in the summer and warm in the winter. Both of these settings will ensure that your room is comfortable and you are able to save energy at the same time!
Ceiling fans can also be a great way to help with circulation in your home, especially when it comes to large open plan rooms. By having your fan rotating in both the summer and winter months, you can adjust the speed of your fan to help improve the air circulation in the room. Be sure to check your ceiling fan's handbook for more information on how to properly adjust the settings for optimal air flow.

By following these tips and adjusting your ceiling fans direction according to the season, you can help make sure that your home is comfortable and energy efficient all year round.
What is the safest way to fix a ceiling fan?
The safest way to fix a ceiling fan is to shut off the power at the circuit breaker, remove the fan cover and blades, inspect for any damaged parts or wires, replace any necessary parts, reconnect all wiring connections, reattach the fan blades and cover, then turn on the power at the circuit breaker. It is important to make sure the fan is securely mounted to the ceiling before turning on the power. Additionally, it is best to wear protective gear such as gloves and eye protection when handling any electrical components.
Once all of these steps have been completed, check the functionality of the fan blades by running them at both high and low speeds. It's also a good idea to check that the fan blades are properly balanced and make any necessary adjustments. Finally, ensure that the fan is securely mounted and free from any obstructions for safe operation.
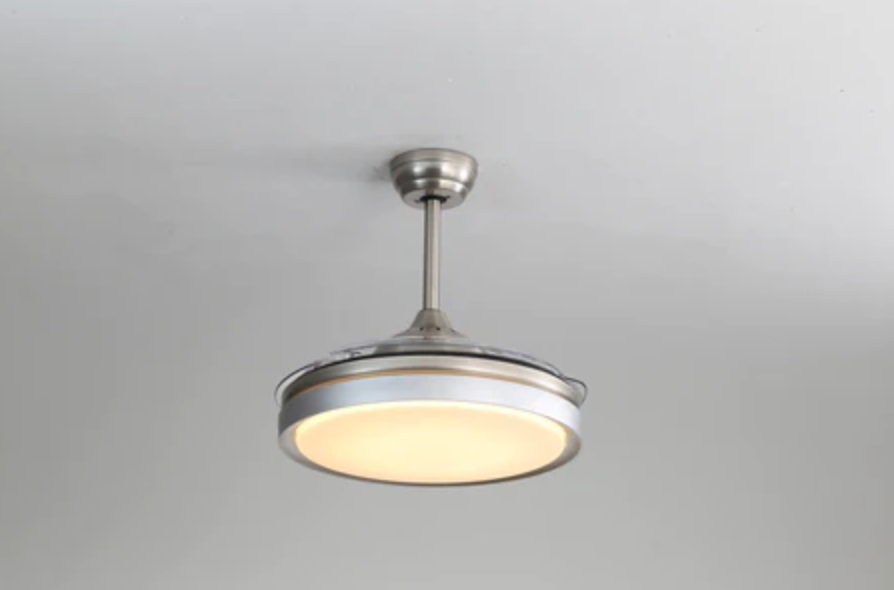
Following these steps will help you safely fix a retractable ceiling fan with light. If you have any doubts or concerns about your electrical abilities, it is best to contact a professional electrician.

What's with the slow start of ceiling fans?
The slow start of ceiling fans is a common occurrence, and it usually means that the fan motor needs to be tested or serviced. Over time, the lubrication used in the motor may wear off, resulting in slower performance. It could also mean that parts have become faulty or worn out. To determine what is causing this issue, the fan should be inspected thoroughly, paying close attention to the wiring, capacitor and other components. If these parts are found to be faulty or worn out, they will need to be replaced with new ones. It is also important to check that all connections are tight and not loose. If any of these issues are present, it is best to contact a professional for assistance. Additionally, it is important to make sure that the fan is receiving enough power from a properly functioning circuit and that the speed switch is working correctly. With these factors in mind, you should have no problem getting your ceiling fan running at its optimal performance once again.
Last but not least, if you need to buy ceiling fans, you can learn some knowledege about it first, when buying ceiling fans, compare brands more.
