

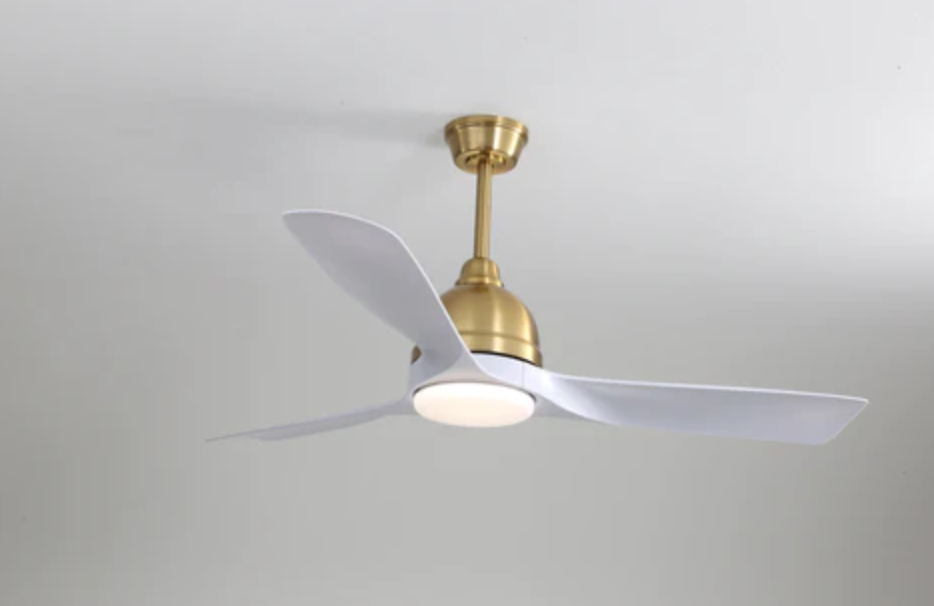
How to connect the ceiling fan to the speed control switch?
The speed control switch is used to adjust the speed of a ceiling fan. It can be set to run at multiple speeds, allowing you to customize your cooling experience. To connect your ceiling fan to the speed control switch, follow these steps:
1. Turn off power at fuse box or circuit breaker before wiring any electrical components.
2. Loosen and remove the screws to disconnect the existing switch from the wall box.
3. Disconnect all wires from the old switch by removing them from their terminals and setting aside.
4. Install your speed control switch in place of the existing switch, securing it with mounting screws into a standard electrical wall box.
5. Connect the blue wire from your ceiling fan to the "forward" terminal on your speed control switch.
6. Connect the black wire from your ceiling fan to the common terminal on your speed control switch.
7. Connect the white wire from your ceiling fan to the neutral terminal on your speed control switch,
8. Replace the wall plate and turn on power at fuse box or circuit breaker.
9. Your ceiling fan should now be connected to the speed control switch and ready for use!
Now that you have learned how to connect your ceiling fan to a speed control switch, you can enjoy having complete control over the speed of your fan. Whether you want a gentle breeze, or a gust of wind, adjusting the speed control switch is just a few steps away! Enjoy your new remote control ceiling fan!
Note: Always remember to use extreme caution when working with electricity and follow all safety instructions for installation. If you are in any doubt about this procedure, consult a qualified electrician. Electrical work can be dangerous and should only be attempted by a professional.