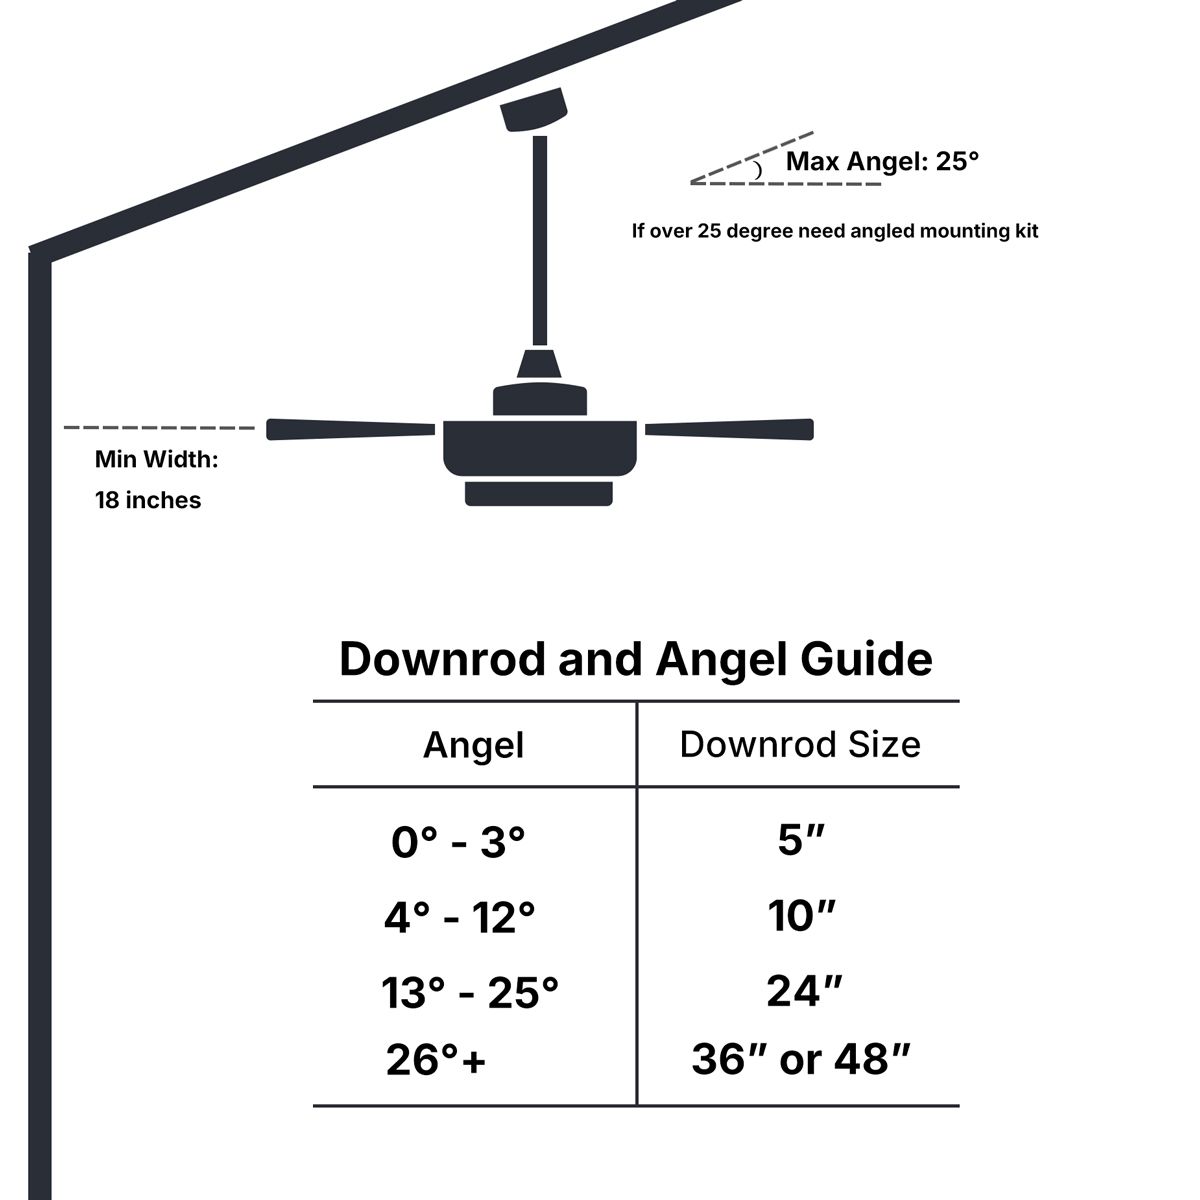
Using a protractor, place the center at the bottom corner where the sloped and base lines meet. The angle formed between the base and the sloped line is your ceiling’s pitch.

How to install a ceiling fan
2023-10-30
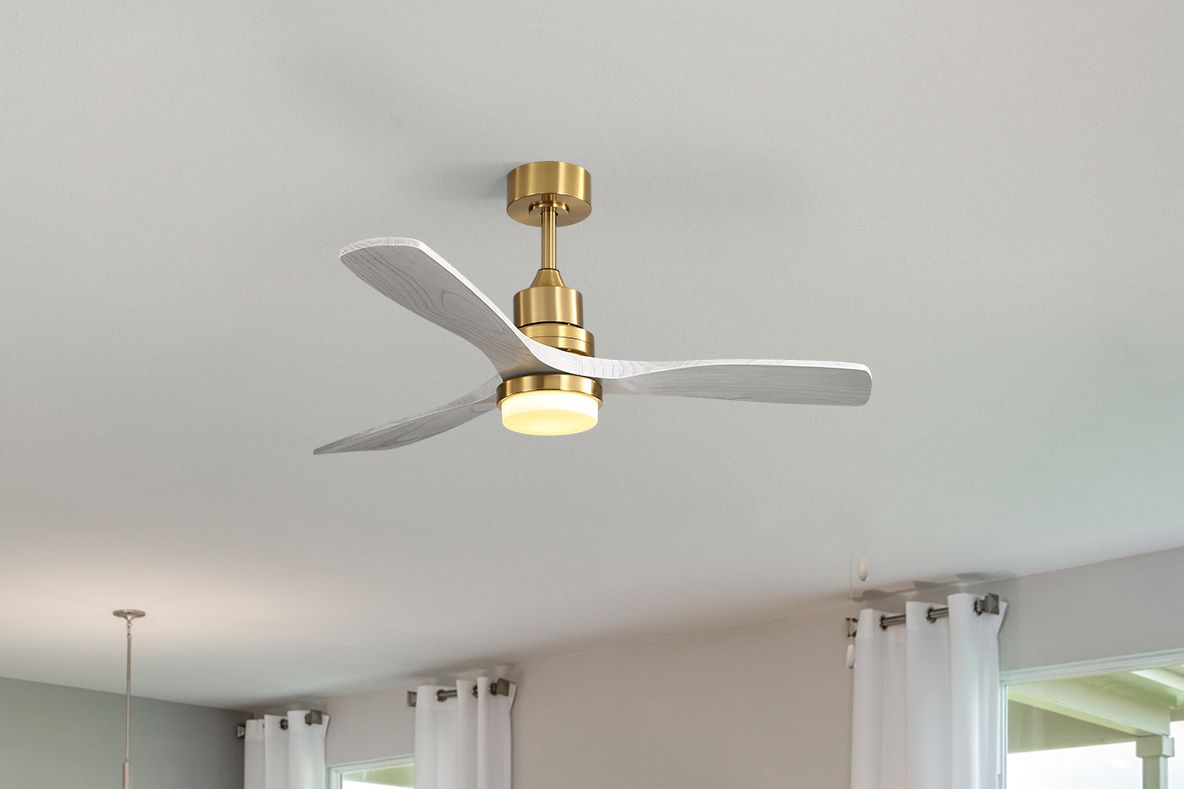
Invite a refreshing indoor breeze with the ideal ceiling fan
Ceiling fans can make your home more comfortable in any season. They provide a cool breeze in spring and summer, and you can set them to circulate warm air in fall and winter. Our wide variety of ceiling fan types, styles and finishes makes it easy to keep any area of your home feeling and looking great.
Ideal Locations for a Ceiling Fan
To prepare for the installation of your ceiling fan, you will also need to decide where to install it. Use the following guidelines to determine the best location:
Ceiling fans must be installed at least 7 feet off the ground, but 8 or 9 feet off the ground is best. There should always be 8 inches - 10 inches of clearance between the ceiling and the fan blades.
The tips of the fan blades should be at least 30 inches away from walls and other obstructions.
Before Starting
Before you begin installing a ceiling fan, it's important to select the right one. Factors like design, size, and placement are crucial when choosing the best ceiling fan for your space.
To determine the ideal size and downrod length, measure the room's length, width, and ceiling height where the fan will be installed.
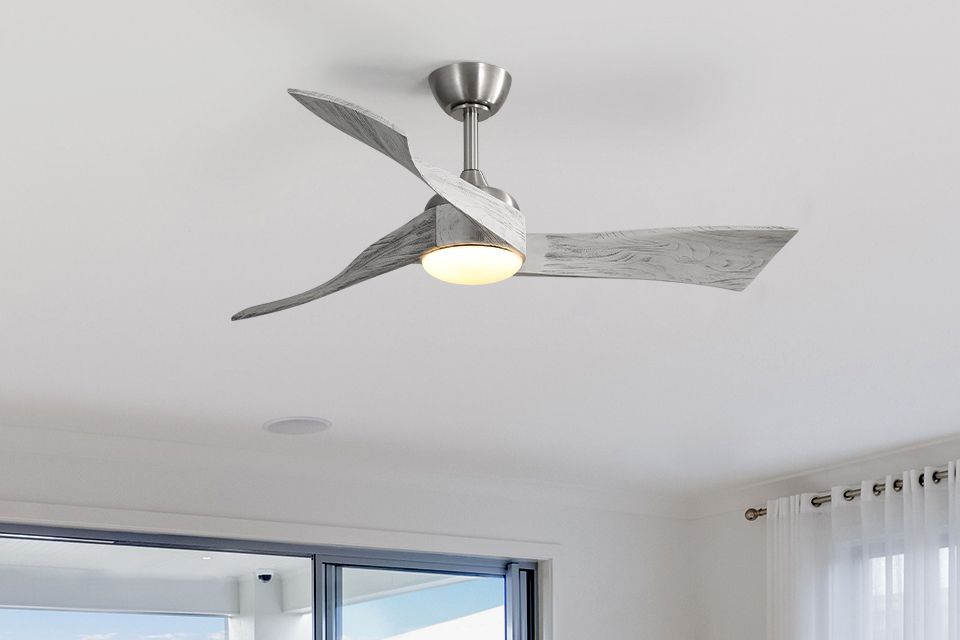
Choosing the Right Ceiling Fan Design
Ceiling fans come in many different designs to suit your indoor or outdoor space. Check out your ceiling fan buying guide to learn more about ceiling fan designs, mounting types, and features.
- Indoor:
Keep your home cool in the summer.
Allow heat to spread throughout your home in the winter.
They are called dry fans because they are designed for indoor use only - Outdoor:
Outdoor fans can be moisture-proofed for covered porches or moisture-proofed for gazebos.
Sofucor moisture-proof fans are not only moisture-proof, but also corrosion-proof and salt spray-proof.
Find the Right Size
To find the right size and drop rod length for your new fan, measure the length, width, and ceiling height of the room you plan to place the fan in. Read our guide, What Size Ceiling Fan Should You Buy? To learn more about ceiling fan sizes.
- Small Room: For rooms up to 8x10 ft, use a 29-39" fan.(Home offices or laundry rooms.)
- Large Room: For rooms up to 10x20 ft, a 42-52" fan is ideal. (Living rooms, bedrooms or kitchens,)
- Great Room: For rooms up to 20x20 ft, (Open-concept or spacious living areas)
Establish the Style
- Farmhouse
- Modern
- Rustic
- Traditional
- Contemporary
- Industrial
Light or No Light
- Light: If your space doesn’t have enough natural light or other artificial lighting sources, you’ll need a fan with a light.
- No Light: You don't need a light on your fan if yourspace has natural lighting or other artificiallighting sources.
Mounting and Downrod Options
- Ceiling Height 8 ft. - Flush mount or low profile
- Ceiling Height 9 ft. - Standard 5" or 10" downrod
- Ceiling Height Over 10 ft. - Extended 24", 36" or 48" downrod
Fan Control Choices
- Remote Control: The Sofucor Remote allows you to control both the light and fan from a single, familiar location on your wall, or easily remove it for added convenience and comfort from a distance.
Smart Home: The Sofucor Remote offers control via remote, app, or voice commands for added convenience.
Know Your Budget
- Economy: Shop our variety of fans by price to find a fit that's perfect for your needs and budget.
- Luxury: Sofucor offers luxuny designs in our wood design of higher-end ceiling fans.
How to Install a Ceiling Fan on a Flat Ceiling
If you are replacing a similar style ceiling fan, installation should be simple. If you are installing a new ceiling fan or replacing an existing light with a ceiling fan, make sure the power required to operate the fan will not exceed the load of the existing wiring. If you are unsure, consult a contractor.
What You Will Need
- Screwdriver
- Pliers
- Wire nuts
- Ladder
- At least two people
Step 1: Turn off Electricity to Room
- Turn off the power to the room where the ceiling fan is installed. Flick the light switch to confirm that the power is off. Remember which switch controls the ceiling fan so you can test it later.
Step 2: Remove Blades
- Use a screwdriver to remove the blades of the existing fan.
Step 3: Disconnect and Remove Fan
- Remove the screws where the base of the fan meets the ceiling. Pull the cover off and away from the wires. Remove the wire nuts and the connections between the fan and the wires. The entire fan will be sticking out of the ceiling, so be prepared to support its weight. Unscrew the brackets holding the ceiling fan up.
Step 4: Consider Your New Fan
- If your new ceiling fan is heavier than your current model, consider installing a support bracket that will sit between the ceiling joists. If you choose to use a support system, you will also need to insert the mounting box and electrical plate into the holes and use bolts to secure it in place. You will use this later to install the ceiling fan mounting plate.
Step 5: Buy a Downrod if Necessary
- If the ceiling fan sits too close to the ceiling, it will not circulate air properly. Make sure the fan is at least 8" from the ceiling. Think about using a downrod if your ceiling exceeds 8', we provide 5",10" and 24" downrod.
Step 6: Attach Mounting Plate
- Install the new mounting plate onto the electrical box. Make sure the flat surface is facing up. Feed the wires through the center hole of the mounting bracket or mounting plate. This part and the mounting screws will be included in your ceiling fan kit.
Step 7: Assemble the New Fan
- Assemble the fan and drop bar on the floor according to the manufacturer's instructions.
Step 8: Connect Fan and Wires to Ceiling
- Insert the fan into the bracket and connect the wires to the fan. Depending on how many switches you have, you may want to connect all the wires (power and lighting) to a common wire and use a chain on the device to control the speed and lights. Screw the wire nuts into the wires, return the wires to the distribution box, and secure the canopy covering these wires and the bracket. Most wires are color matched. For example, the white wire from the fan or ceiling will connect to the white wire from the receiver.
Step 9: Testing Your Ceiling Fan and Remote Control
After installing the ceiling fan, check the remote control to ensure it’s functioning properly and test the fan to confirm it’s operating smoothly at all speeds. Make sure the light (if applicable) is working as expected and that the fan is securely mounted and balanced.
How to Measure Ceiling Slope
Step 1: Sketch Your Room
- Use paper and a pencil to draw a simple sketch of your room.
Step 2: Measure the Tallest Point of Your Ceiling
- With a ladder, measure the height of the highest part of your ceiling, which may be at the center or off to the side. Mark this spot on the floor with painter’s tape for reference.
Step 3: Measure Your Walls
- Measure the height from the floor to where the walls meet the ceiling.
Step 4: Calculate the Rise of Ceiling
- Subtract the wall height from the tallest ceiling height to calculate the rise of your ceiling.
Step 5: Calculate the Run of Ceiling
- From the painter’s tape mark, measure along the floor to the nearest wall. This is the run of your ceiling.
Step 6: Convert Your Measurements
- Convert all measurements from feet to inches. For instance, if your ceiling rise is 11 feet, record it as 132 inches. If the run is 9 feet, note it as 108 inches.
Step 7: Figure Out the Ceiling Pitch
- Draw a triangle using your converted measurements. The base represents the ceiling run, and the vertical line represents the ceiling rise. Connect the two to form a right triangle.
How to Install a Ceiling Fan on a Sloped Ceiling
For installation on a sloped ceiling, you may need a longer downrod to keep the fan blades at least 18" from walls or the ceiling. If the ceiling angle exceeds 25°, an angled mounting kit (sold separately) is required.
What You Will Need
- Screwdriver
- Pliers
- Wire nuts
- Ladder
- At least two people
Keep in mind that installation instructions vary by manufacturer, so it's best to follow the specific guidelines provided or consult a professional. You can also refer to the general steps below.
Ceiling Fan Installation Guide
Installing a ceiling fan follows the same process as a standard fan, with the main difference being the assembly of the fan and its mount. Since installation instructions vary by manufacturer, always refer to the specific manual or consult a professional. Below are general steps to guide you through the process.
Step 1: Assemble the Fan
- Follow the manufacturer’s instructions to assemble the fan and attach the blades.
Step 2: Attach the Ball and Downrod
- Screw the downrod into the threaded end of the ball, which ensures the downrod stays vertical using gravity. Slide the ball and downrod through the bracket, insert the provided pin through the holes, and align it with the grooves in the ball to lock it securely in place.
Step 3: Thread the Wires
- Run the electrical wires from the fan through the downrod and out the opposite end.
Step 4: Secure the Downrod to the Ceiling Fan
- Screw the downrod into the top of the ceiling fan and tighten any additional mounting screws to secure it.
Step 5: Attach the Downrod to Ceiling Bracket
- Insert the downrod’s ball end into the mounting bracket that will be installed on the ceiling.
Step 6: Connect Wires and Mount Bracket to Ceiling
Connect the electrical wiring according to the manufacturer’s guidelines, then securely mount the bracket to the ceiling.
Step 7: Testing Your Ceiling Fan and Remote Control
After installing the ceiling fan, check the remote control to ensure it’s functioning properly and test the fan to confirm it’s operating smoothly at all speeds. Make sure the light (if applicable) is working as expected and that the fan is securely mounted and balanced.